So this is a post that I should have written a while back (in June) when I actually did this project. Earlier this year, I started heavily reading DIY blogs. I was inspired. All these beautiful crafts and pieces of furniture that people had a gift for making absolutely beautiful. I knew... that was me. I could do that just like all those other women out there. I could go to goodwill and find a dresser for $10 and make it seem fresh out of a Pottery Barn catalogue. I could turn a rustic, broken antique mirror into a sophisticated and classy note board. I could refrain from buying expensive decor from Pier One and Ashley. I could and I freaking should because I am fresh out of college, no job as of yet, a boyfriend and roommate who is still in school, and a precious baby, Sadie, who is the light of both our lives to provide clothes and food for. Why yes, Sadie is a dog. :) But it doesn't mean that she is any less needy than an actual child would be, just let me tell you!
Anyways, back to saving money. Ensue trip to local goodwill store to see if I could make any good finds. And what do you know but I find these 3 beauties for $12 each.


How often do you find 3 matching end tables in pretty good condition at a resale shop?! I definitely couldn't give you any kind of guesstimate, but I'm betting its not too often. I knew I didn't need 3. Hell, I didn't even know if I had room for two of them in the new apartment we were about to move into. But I definitely bought all three, because someday I will have that dream house large enough to hold three end tables. Yes, its one of my many dreams. ;)
I was really inspired at the time by many posts on Better After that showed stained wooden tops of tables with white painted body and legs. LOVE! So I gathered up advice from the blog-o-sphere on what brands to buy, what stains to get, how to strip, etc etc. Mind you, this was my first time ever to do something like this, and by golly I was going to be an independent woman and do it alone. No help from the dad or the boyfriend needed here! [Ok, well maybe a little advice now and then helped ;)]
After (several) trips to Lowe's to get everything I needed, I started my adventure in the scorching Texas summer. I believe that most of the days that I worked on this project the temperature outside was in the ballpark of 105-110. I wish I was kidding. No need for a workout that day, I'll tell you that much. I'm pretty sure I sweated out my entire body weight working on these tables.
Honestly, the hardest part was stripping the tables of the previous finish. I researched several ways to strip the finish, but I ultimately went with a spray on stripper from Minwax (I think, honestly its been so long since I did this I can't remember for sure). It was so hot outside that I think it made the stripping way harder than it should have been, and it was drying like CRAZY fast. Im pretty sure it's not supposed to look all blotchy like this, but I made it work.


So moving on, I then had to cover the top with a cheap, plastic drop cloth, tape it and turn the table over onto its face. Then I was able to prime the upper part of the body that was green and get it ready for some fresh new paint. I used Klitz primer for obvious reasons as it seems to be the universal choice among DIY-ers. I also primed all the legs after I had unscrewed them from the table.

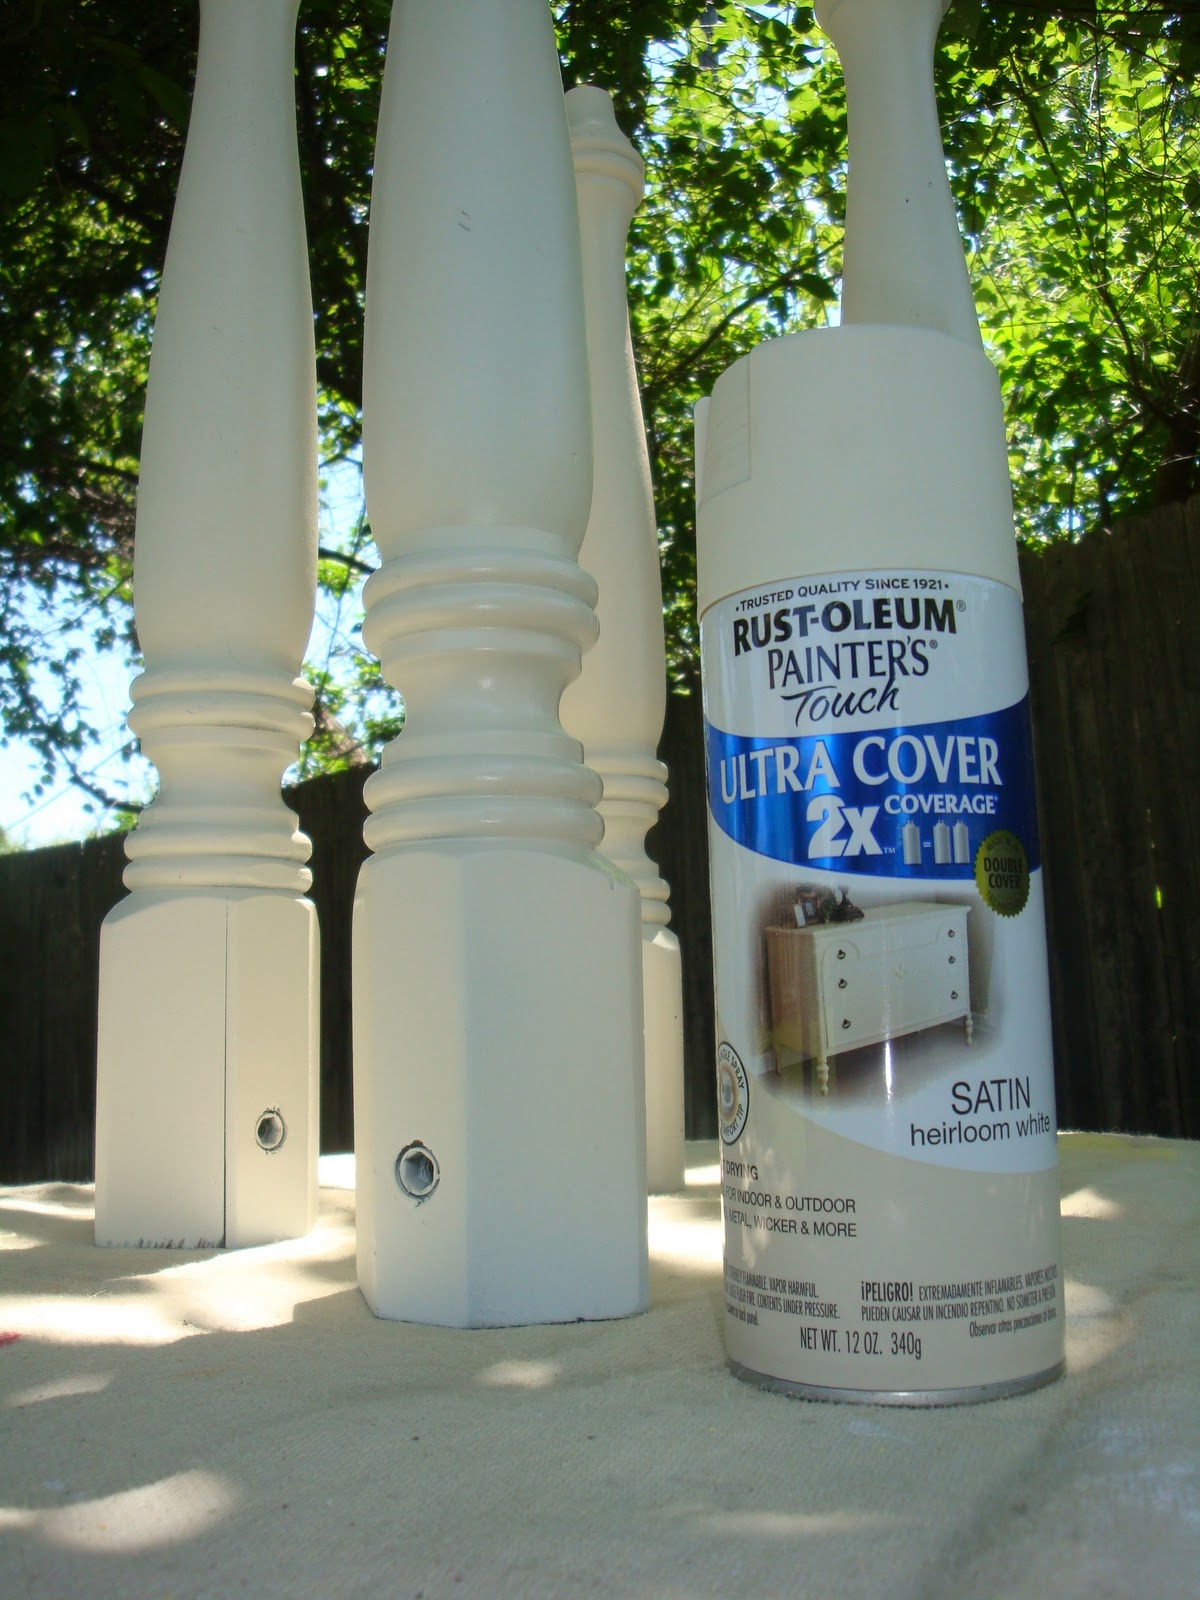
By this point, I was so incredibly sweaty and tired, I threw in the towel for day one. The next time I started back up on this little project, I was going to get to enjoy the fun part: PAINTING! Honestly, I was very underwhelmed by the spray paint selection at most stores in N/E Tarrant county. Lowe's and Home Depot's selections were abysmal considering they are a home improvement store. I was told to check out Wal-Mart for their selection of Krylon, but um, my Wally World definitely doesn't carry Krylon or have any kind of selection to ride home about. Anyways, I settled on Rustoleum's Antique White that I found at an Ace Hardware and was ultimately pretty pleased with it.

At this point I was getting pretty excited because this had turned into a really lengthy process and finally I was seeing some progress as to what my final project might look like.
Next up, staining! I bought Minwax's Red Mahogany stain. I was scared it was going to have too much of a reddish tint, but thankfully it didn't


Apply on, Wipe off, Apply on, Wipe off. Apply on, Wipe off.
Let dry for 24 hours and VIOLA!
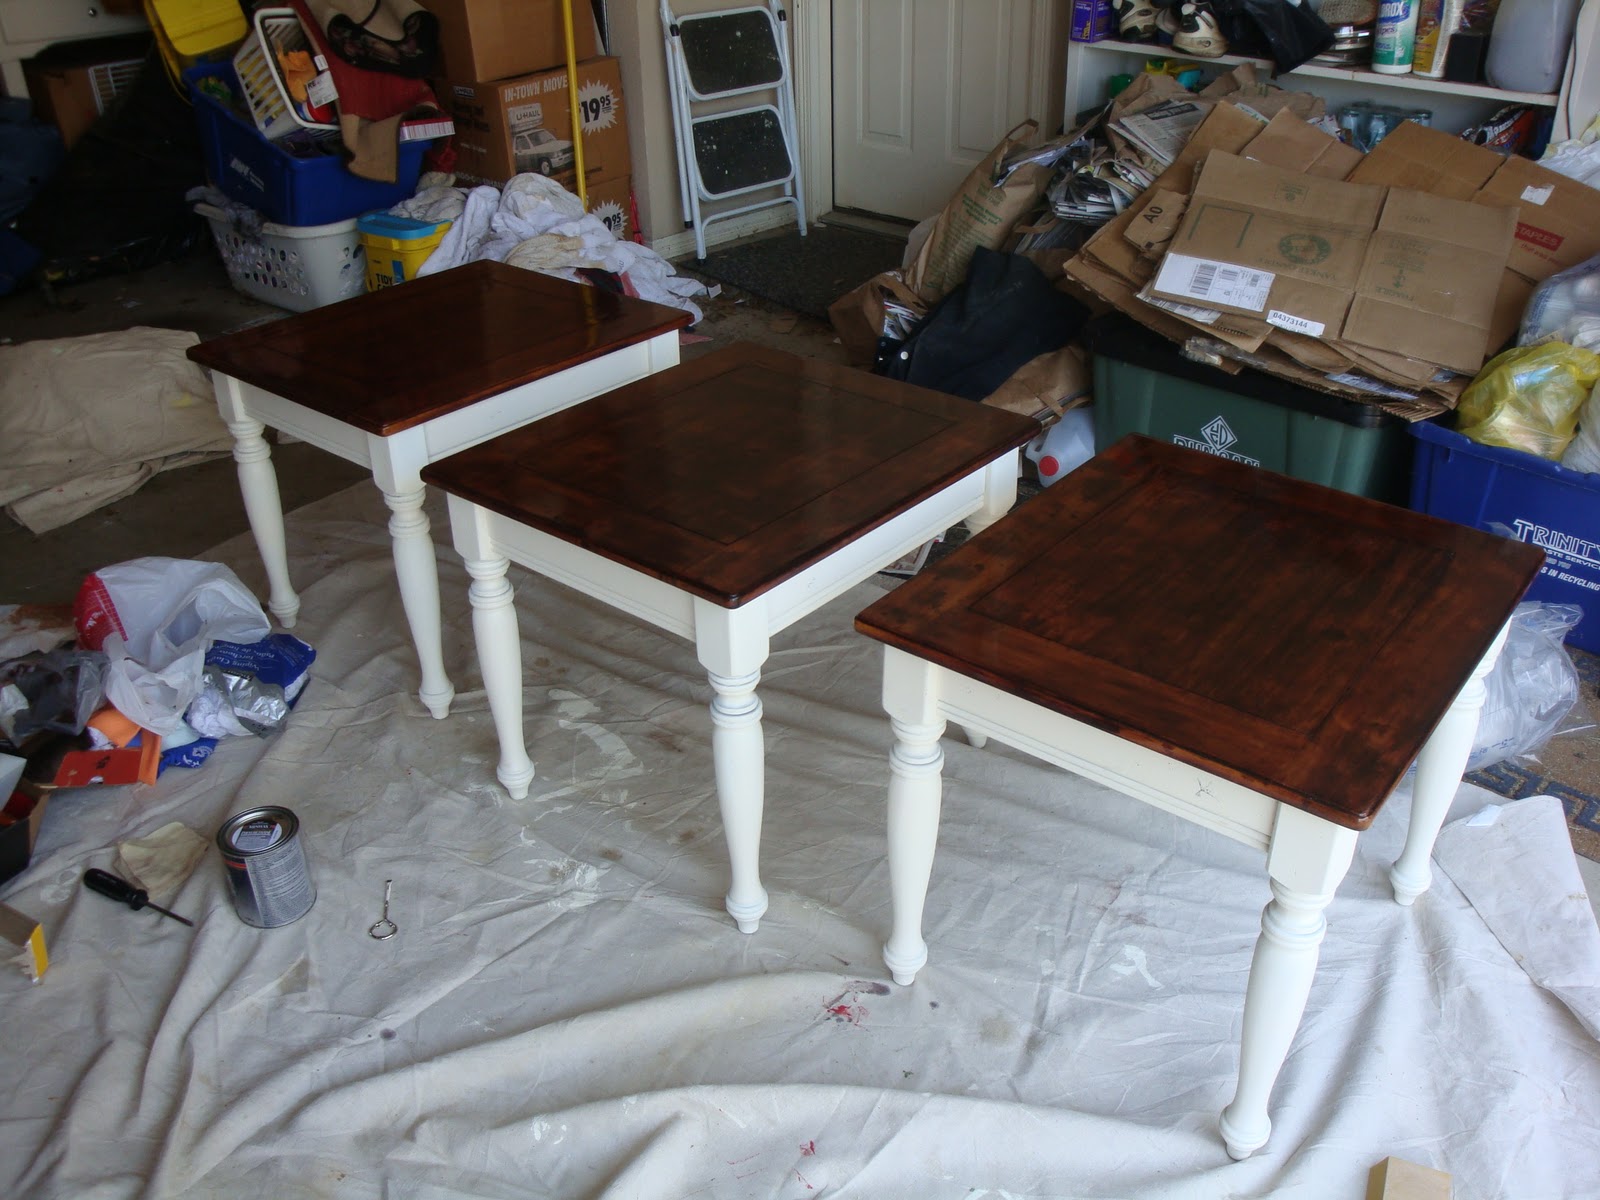


I had a little trouble with the finish completely soaking into the wood. I'm not sure if I didn't strip or sand the top enough, but I'll be sure to work a little harder at it next time.
But I'd have to say, for a first project. I'm mighty proud of my 3 little goodwill end tables! Hope you like them too.


I'm linking up to a few sites that gave me the inspiration for this endeavor: